Last month I showed you how you could make individual student reports from your student tracker (Click Here). Today I am going to show you how to make certificates using Google slides. Now as any teacher knows making certificates to send home is great but can be time consuming. As a PE/Athletic Director it is essential skill, tournaments, field days, sports days, the list goes on. Now before now, you had to use a Google Doc, so all my certificates had to be created in Google Docs (as much as I wanted to use slides)…..Now that has changed!!! An update I was notified of today (thanks @physed).
Now when I started the autocrat process I was presented with this message:
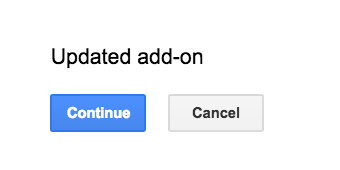
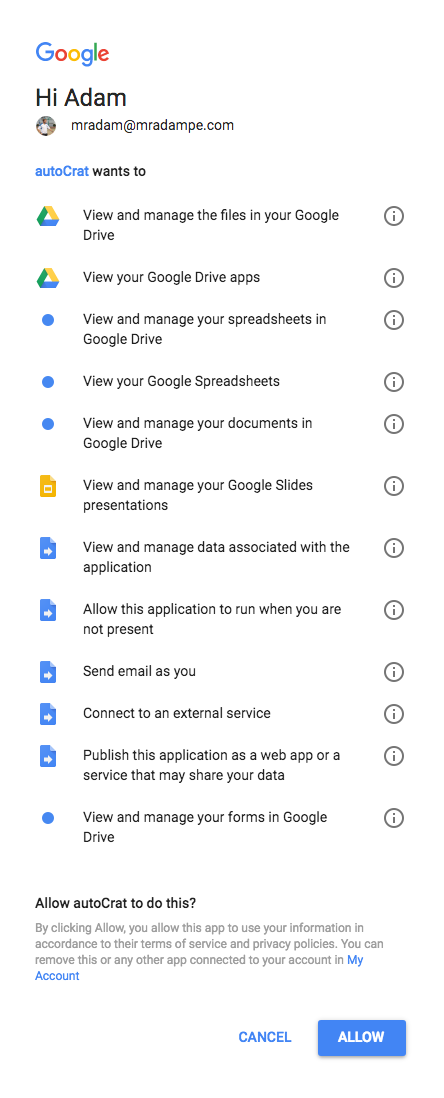
I clicked ‘continue’ and then ‘allow’
Now this will only come up if you have autocrat already installed.
To Create a Certificate Using Slides
Click New Job to start.

STEP 1: Give your job a name, in this case, I will call it ‘Certificate‘
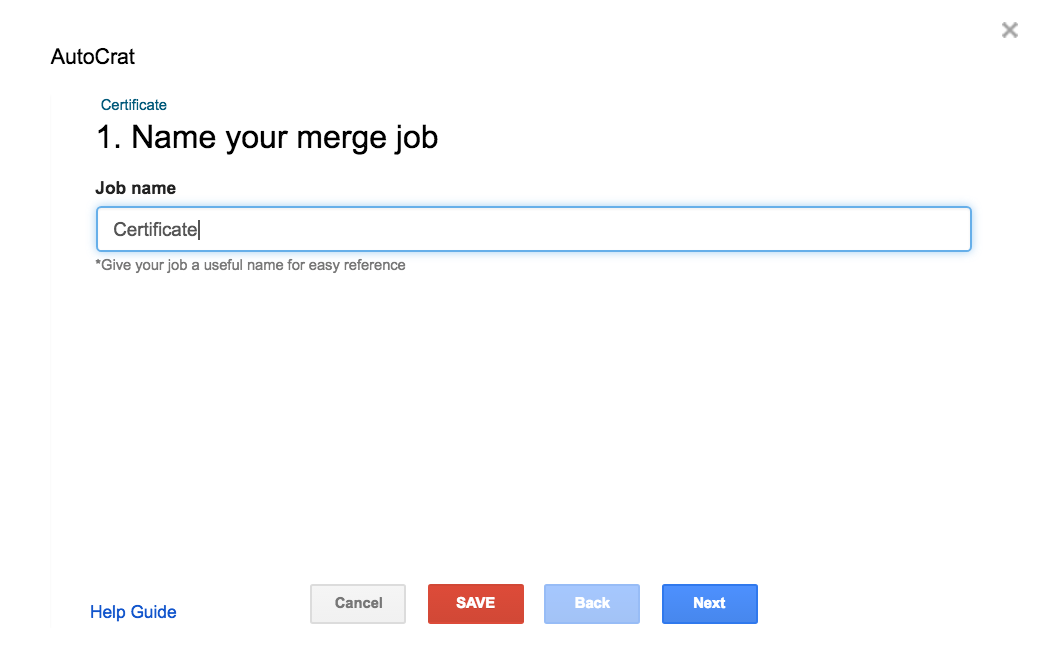
Then click ‘Next’.
STEP 2: Next, you have to choose your Google SLIDE template which you want to use for your report. I went into slides, then into the templates section and chose the certifcate template and added my <<merge_tags>>.
**GAME CHANGER**
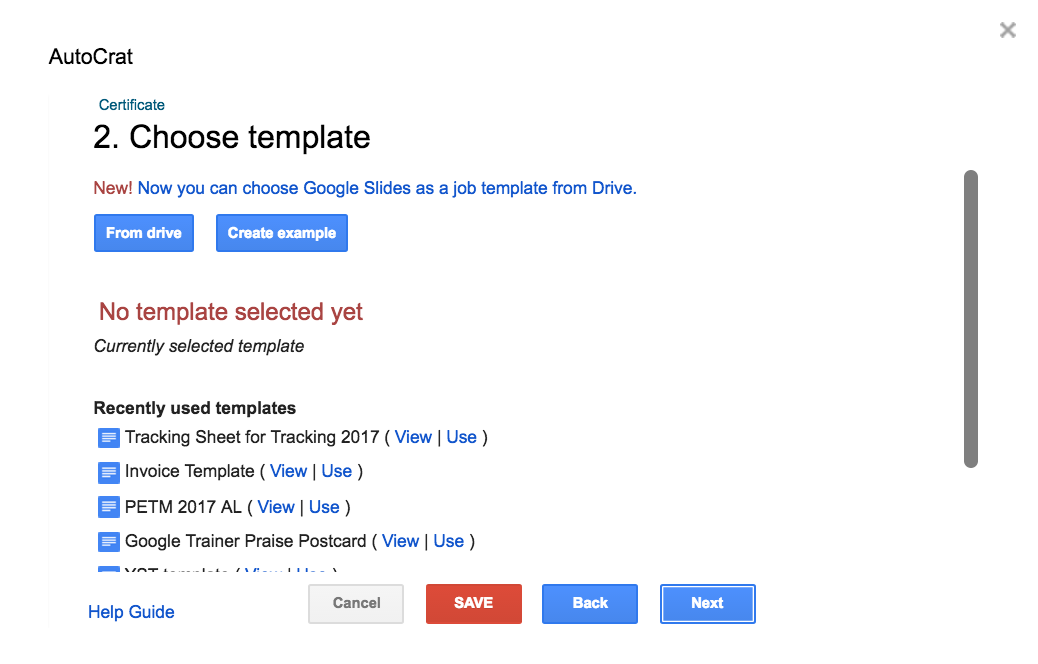
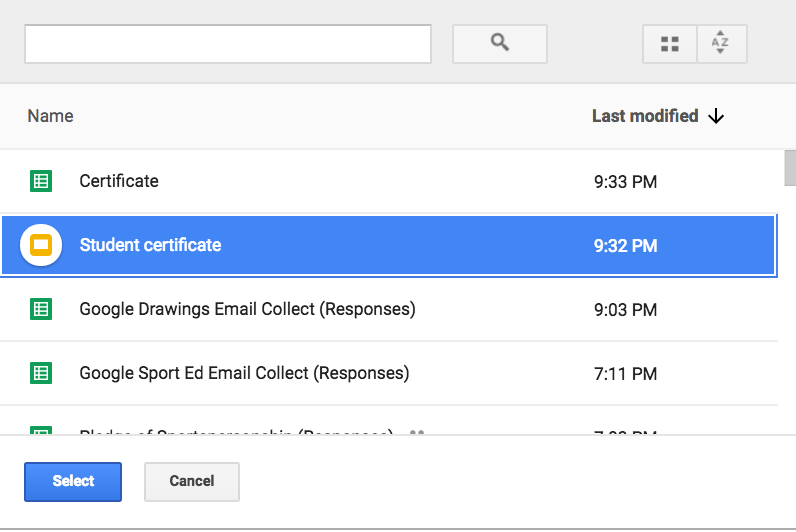
Click ‘From Drive‘ and choose the template you have saved in your drive.
Click ‘Next‘.
STEP 3: The merge tags in the Google Doc will now appear and you need to ‘map to column’ so the tags need to map to the columns in the Google Sheet.
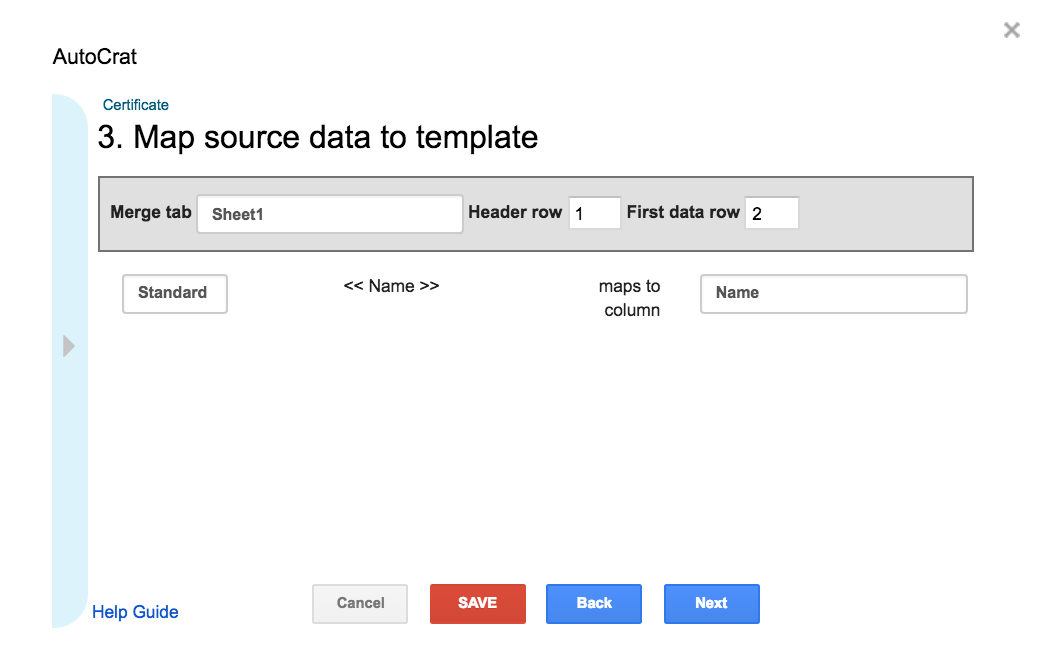
This needs to be done for each merge tag, in this example we just have the one.
Click ‘Next‘.
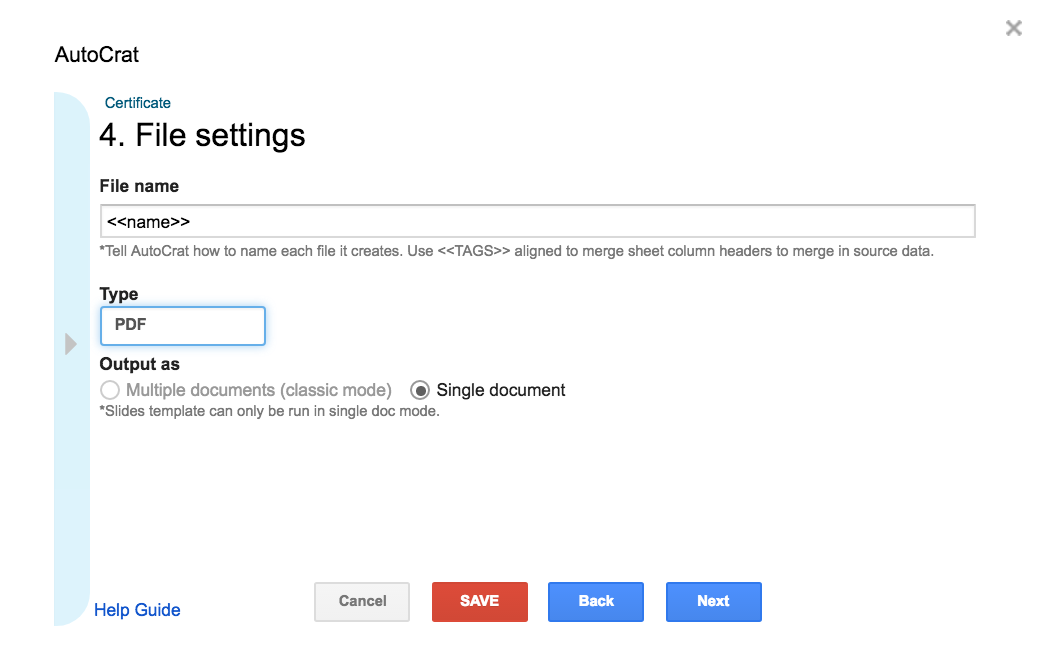
STEP 4: Decide how you want to name each file you are going to create, by pressing the blue sidebar it will give you a list of merge tags that you can click and then paste in the file name. For example <<name>> will create a different PDF and use each individual student name as the file name.
You can choose either PDF or Doc as the ‘Type’, I tend to use PDF if it is a document that I do not want editing in the future.
Click ‘Next‘.
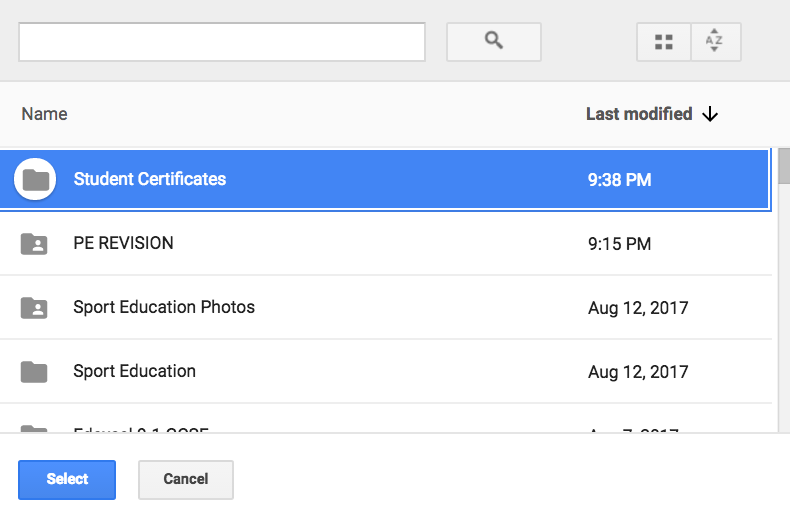
Step 5: Choose a folder in your Google Drive in which you wish to put all the new files in. Click ‘Choose Folder’ and select which folder you would like to use.
Click ‘Next‘.
Step 6: I tend to leave this blank.
Click ‘Next‘.
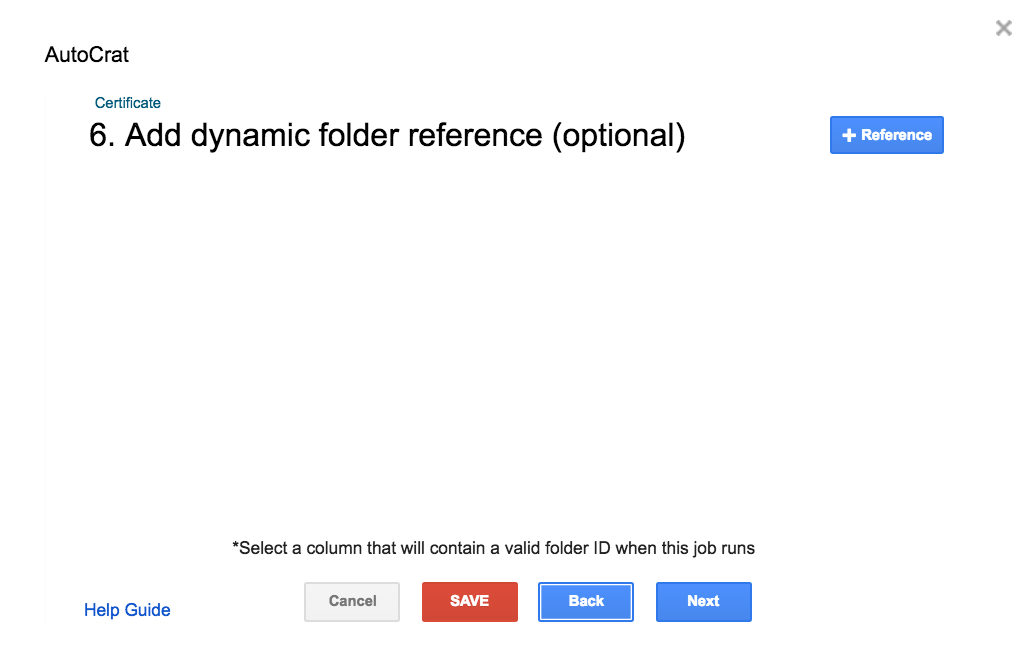
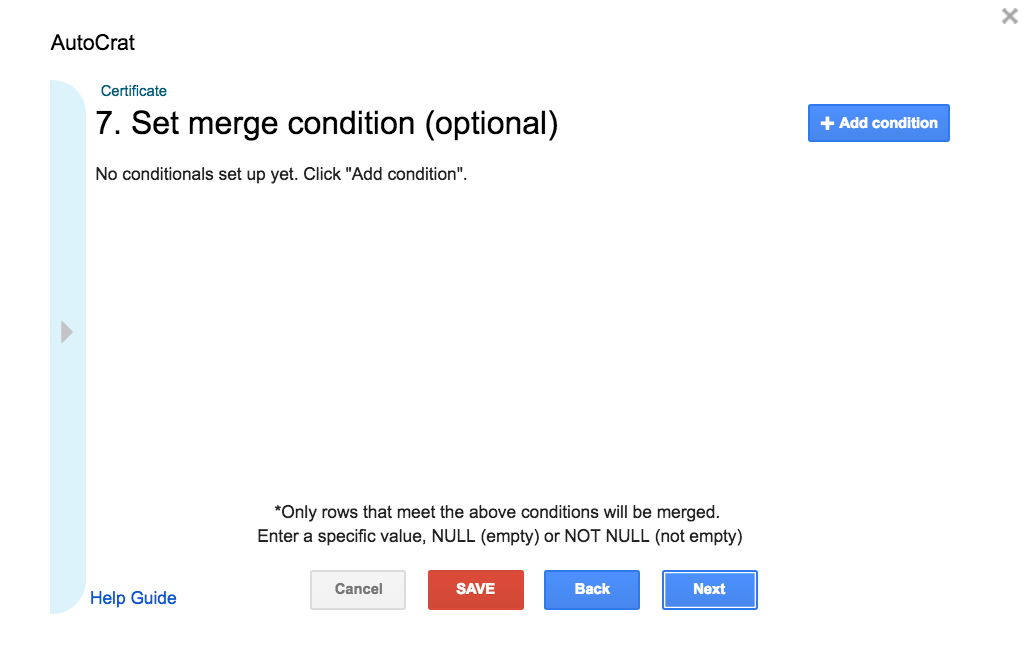
Step 7: For this example, I will leave this blank. You could use this part if you only wanted the Autocrat to run depending on certain conditions.
Click ‘Next‘.
Step 8: Sharing the document -> For this example I do not have the email addresses of the students in which I want to share the file with, so will leave the setting as ‘No’.
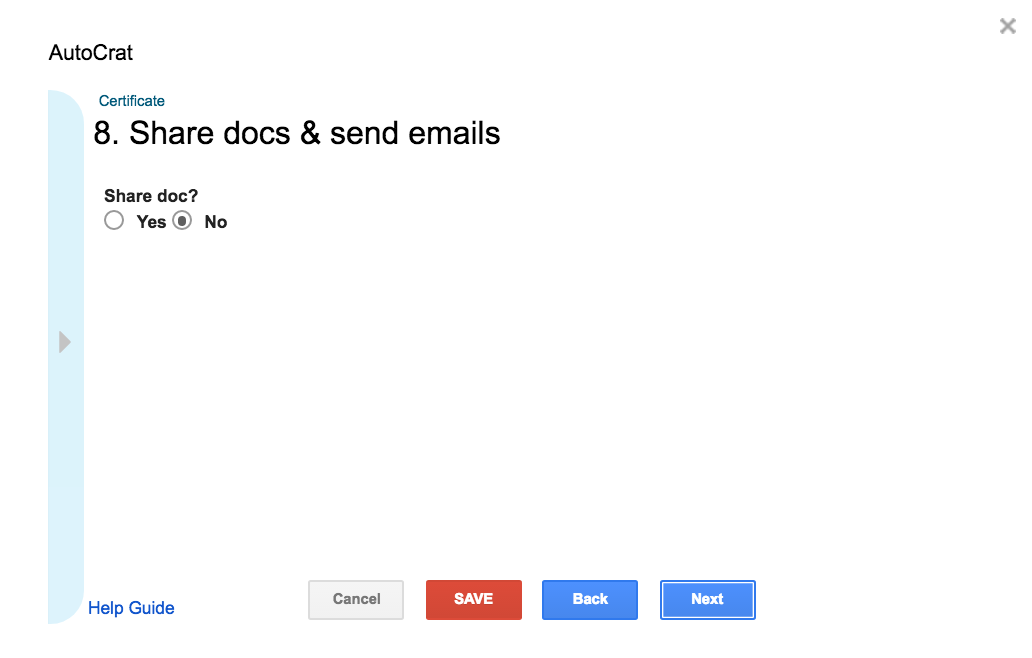
If I did have the email address I would click ‘Yes’ so it would generate an email to each student with the file as a PDF attached.
Now I would have the opportunity to choose either PDF/Doc to share the file, allow collaborators the options to re-share the file or not and if I want to send the email from a generic no-reply address. In the ‘To’ I would put <<email>> if that was what the column title was on my sheet.
Click ‘Next‘.
Step 9: Add/Remove Triggers
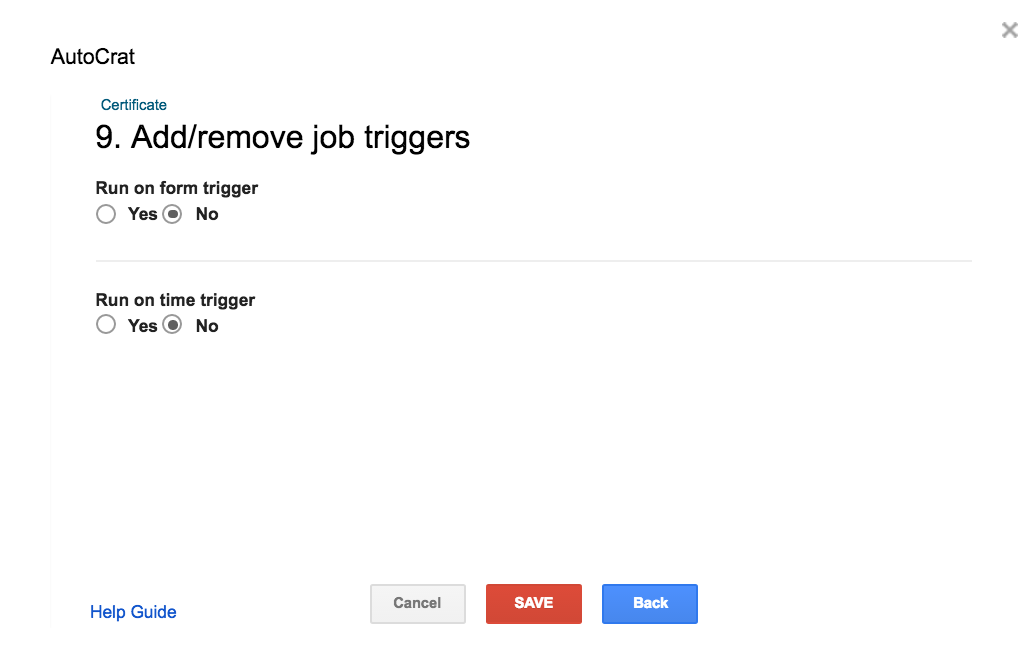
As I am running this Autocrat manually I will leave these as ‘No’.
Then let autocrat do its magic.
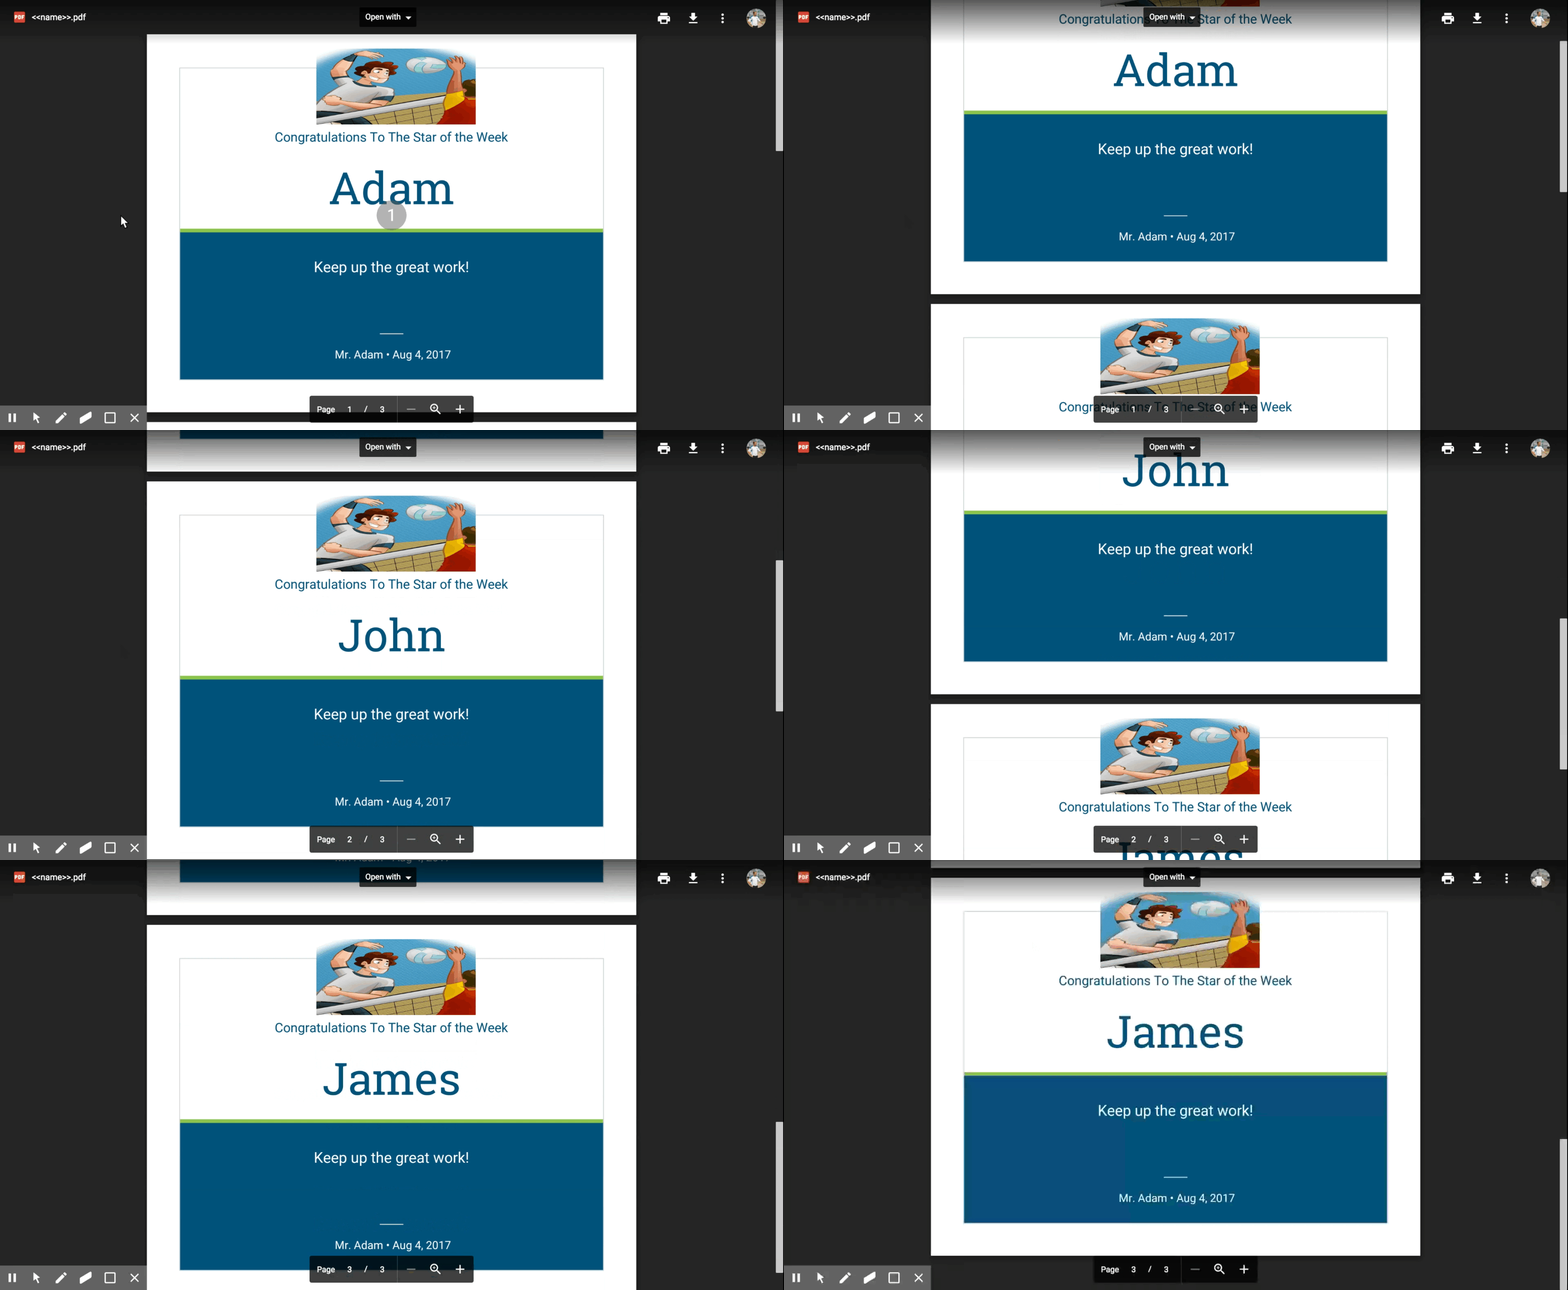
This will then run and create a list of certificates as seen below!
Game changer for us teachers
Let me know if you have any questions and how you get on with using it.





Hi,
I’ve just been shared your post on Google+ to try and solve a problem I’m having with mail merge. It’s a really great tool but doesn’t quite solve the problem I have…
I want to be able to create a 5page slide template and insert a mail merge tag into page 1 which will be populated with the child’s name but allow the slide to remain in edit mode in slides. Do you know if this is possible?
Thanks
Hi Ellen.
What is the overall goal you are trying to achieve? Then I will have a better idea of your project 😀